

Here is my first tutorial - super easy cashmere baggy trousers!
I'm not really into sewing jargon so excuse my lame explanations and hopefully you'll be able to understand what is going on and do it yourself at home.
1. Find your self an old woolly jumper with a turtle neck - I've used a cashmere one, they are super soft and snuggly, but unless you get them super cheap (or free from Charlie-at-the-market) you can use some other kind of woolly jumper. If the knit is very loose you might want to felt it a little by washing it on a warm cycle. Or maybe you've already done this with one of your jumpers by accident *wink* . The rest of the tutorial is after the jump (I think...)

2. Find some trousers with a simple silhouette that fit your little one and use that as a pattern - or use your common sense and cut away. Remember to leave at least 1cm as seam allowance -and you're cutting through both layers at once.

3. When you've cut your jumper you'll end up with a shape like this:

Don't throw away the arms and waistband -you can use them too!
4. Next cut out from the waistband of the jumper to strips that will make the cuffs of the trousers. I've made mine a little smaller than the width of the trousers to give them a baggy look.

5. If you want to make the trousers extra spacious to make room for big cloth-diapers you need to cut out a gusset from some of the scraps. This will be sewn into the crotch to make more room.

6. Turn your jumper inside out. Pin the sides together so the don't slip when you sew it together.

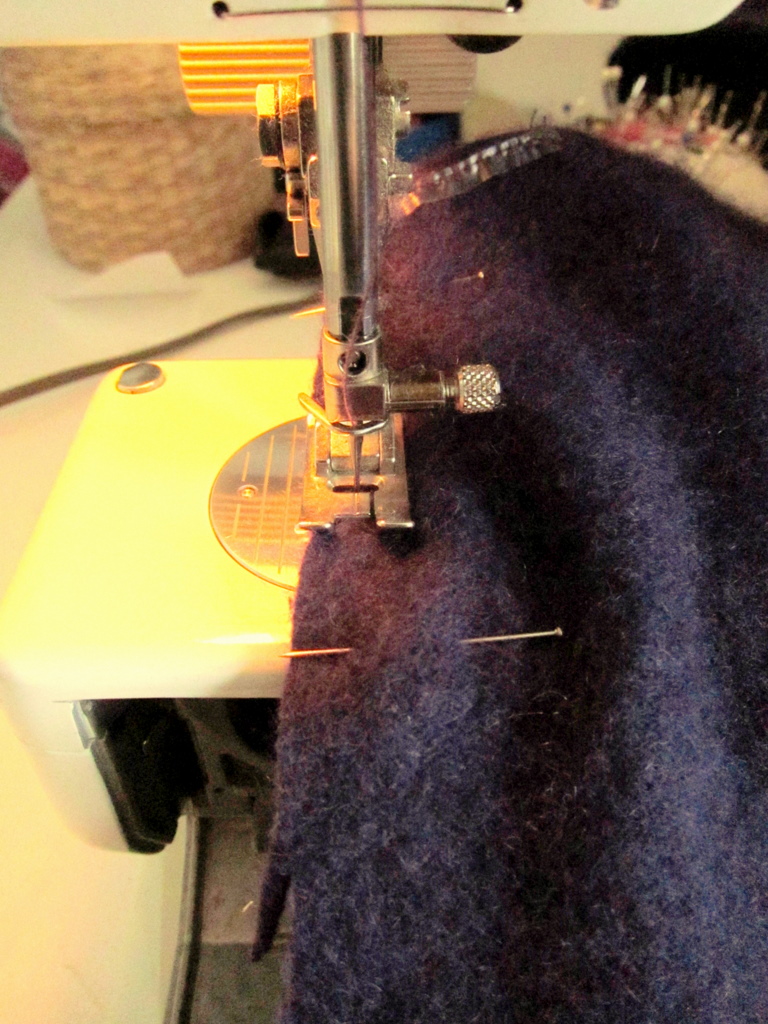
7. As you can guess from the picture you now sew the OUTsides of the trousers together. First normal straight stitch, cut clean and then zig sack (or serge) to prevent fraying.
8. Fold you gusset in two to find the center and mark with a needle. If you are not cloth-diapering you can skip steps 8 to and just sew together the inside of the legs and move to step .

Place the gusset in the center of the crotch with the straight edge face-to-face (or do you say right side-on-right side) with the front of the trousers.

Pin the gusset in place and sew -straight stitch and then zig sack. Look at the seam from both sides to make sure you don't end up with any holes.

When turned right-side-out it should now look like this:

9. Now fasten the gusset face-to-face to what will be the back of the trousers like this:

Sew the seam of the gusset (and zig sack) and sew the seam of the rest of the inside of the legs. It should now look like this:

10. Now sew your leg cuffs down the long side so you get two tubes. You should now have these three pieces in front of you.

11. Are you still following? If so well done! We are now going to attach the cuffs to the legs. First take a sewing needle and sew round the bottom of the leg, leaving a long loose end. When you have got all the way around pull you threads so the leg scrunches up.

12. What you now have is this:

Now we have to think a little... insert the cuff into the trouser leg. It needs to be face-to-face -so the cuff has the seam on the inside when you insert it into the leg -if you get what I mean.

Now pin them together, so:

And sew together:

It should now look like this:

Do the same on the other leg.
13. When you now turn it right-side-out you should now have something like this in front of you:

14. All you need now is a baby to wear them take a photo of them and send it to me so we can show them off in a blog post.

Those are DARLING! I'm so bookmarking this for later :-)
ReplyDeleteThanks! Please send a pic if you do make them!
ReplyDeleteOkay, these are the stinkin' CUTEST pants I've ever seen! And the snuggle factor-oh absolutely adorable! Very easy for even an inexperienced sew-er to make.
ReplyDeleteSO excited to have found your site!
Molly